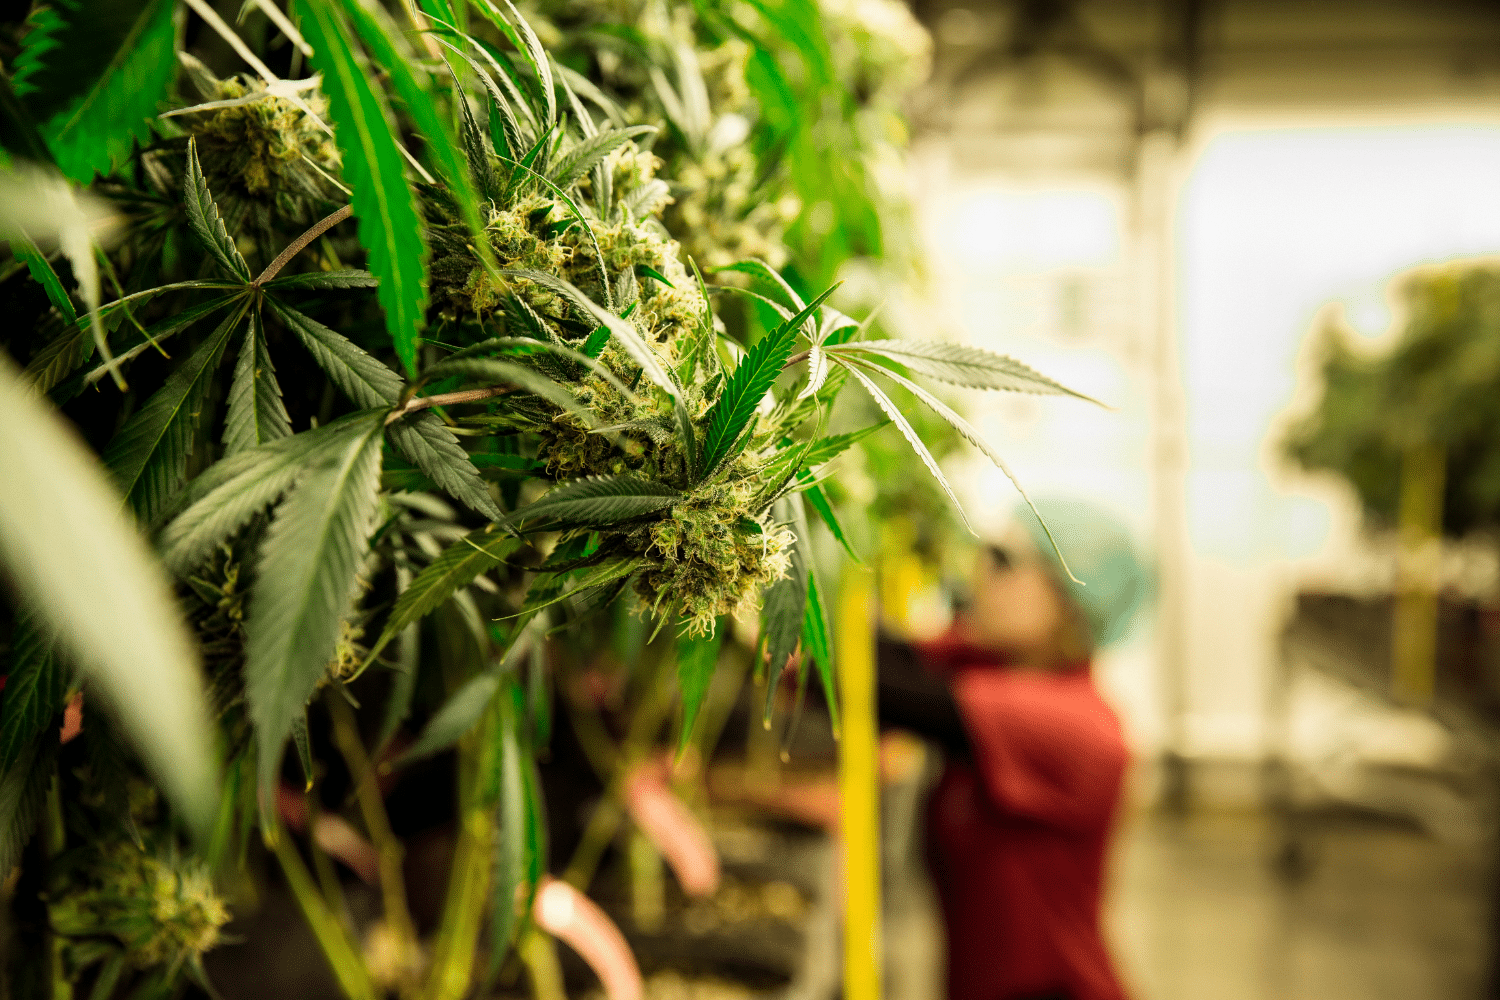
As we approach fall in the northern hemisphere, many growers are planning their harvest. Hopefully you’ve started with superior genetics from SeedBank and your seeds have blossomed into bud-heavy plants that are nearing the end of their growth and maturation. Here are the most important factors to consider as you prepare to cut them down:
TABLE OF CONTENTS

1) Timing your harvest
Indica-dominant varieties are generally ready for harvest faster than Sativa, in as little as seven or eight weeks if healthy Auto flowering strains, while sativa-dominant strains may require significantly longer—up to 25 weeks from germination to harvest – in some extreme cases.
Knowing when to harvest your buds is very important to optimizing the cannabinoid content. If you harvest too early, you’ll miss out on THC, CBD, Trichomes and other good stuff, but if you wait too long these same molecules will start to degrade and start to break down.
The THC crystals, or trichomes, begin forming near the end of flowering, but that really accelerates during the last week. Your should wait until the trichomes are fully developed, which will maximize the THC content and thus the potency of your cannabis. If you wait too long to harvest the resin glands will start to degrade. Part of this degradation process is when the THC and THCV in the buds break down into CBN. This cannabinoid produces heavy sedative effects. Proper harvest and drying will limit the amount of CBN in your final buds.
Another detail you’ll want to consider is the color of the trichomes. When trichomes first develop they are transparent and over time you’ll start to notice them turn cloudy and then a shade of amber will appear. The amber in the trichomes also directly affects the potency of the weed. If you prefer a more energetic and up beat high, then you’ll want to harvest when there is only a slight amber shade to the trichomes. The resulting high is generally more laid back and relaxed when the trichomes are darker in color. A $10 jewellers loupe from Amazon can help you nail the perfect timing. This LED pocket microscope is also an excellent option.

2) Harvest and Cutting
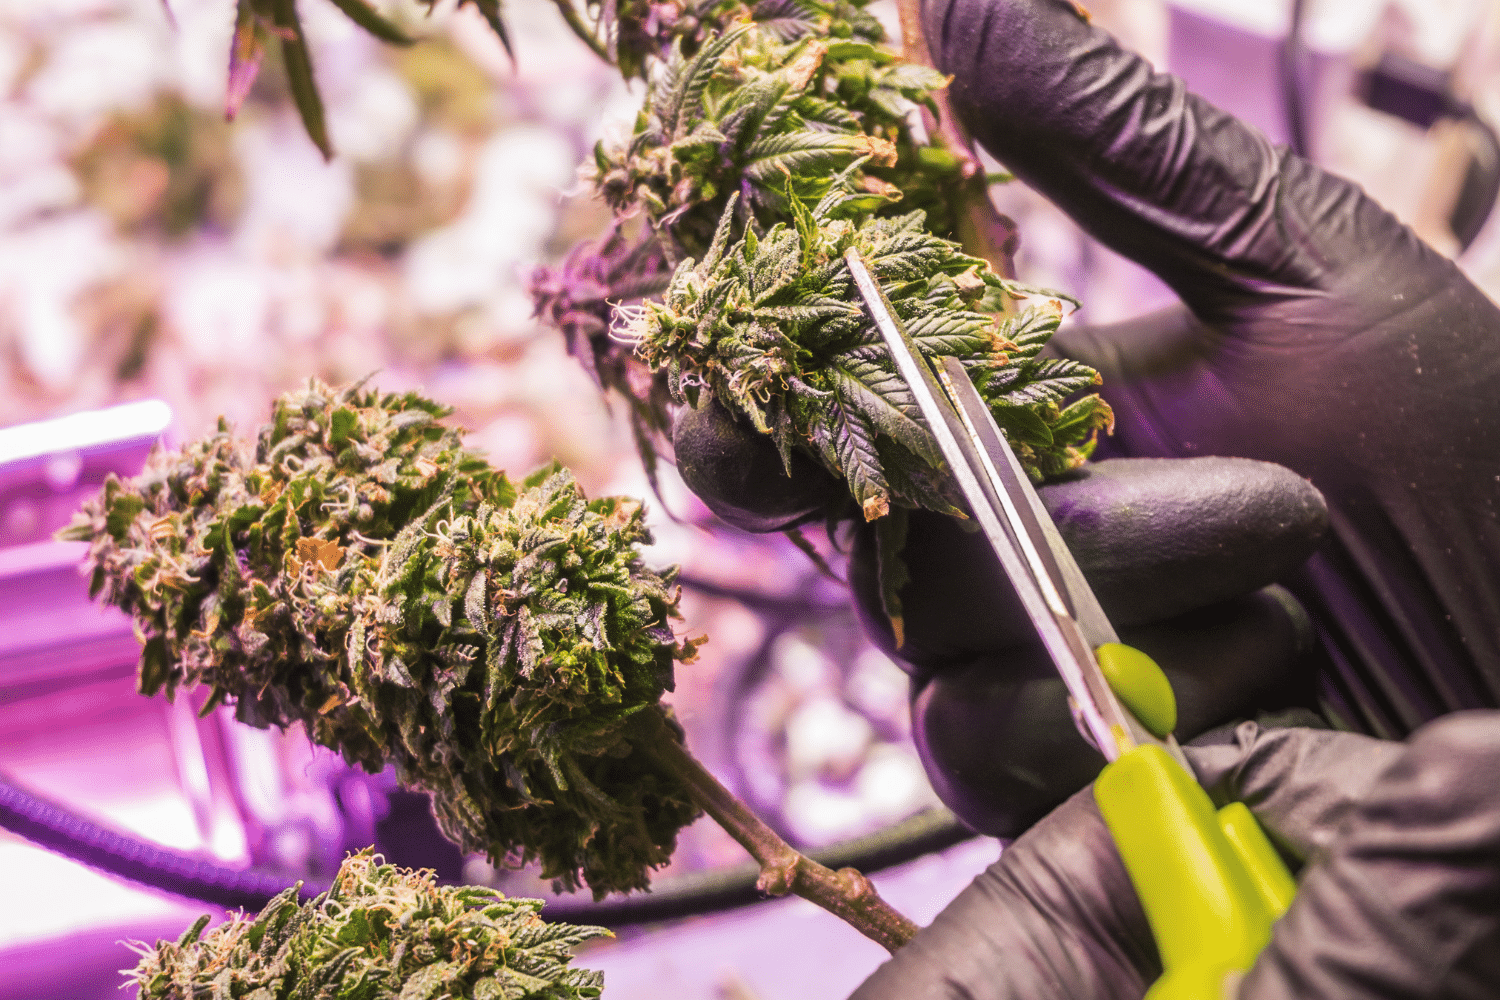
Before commencing the harvest, ensure that you are equipped with the following:
- A good quality latex gloves, or (powder free) rubber gloves.
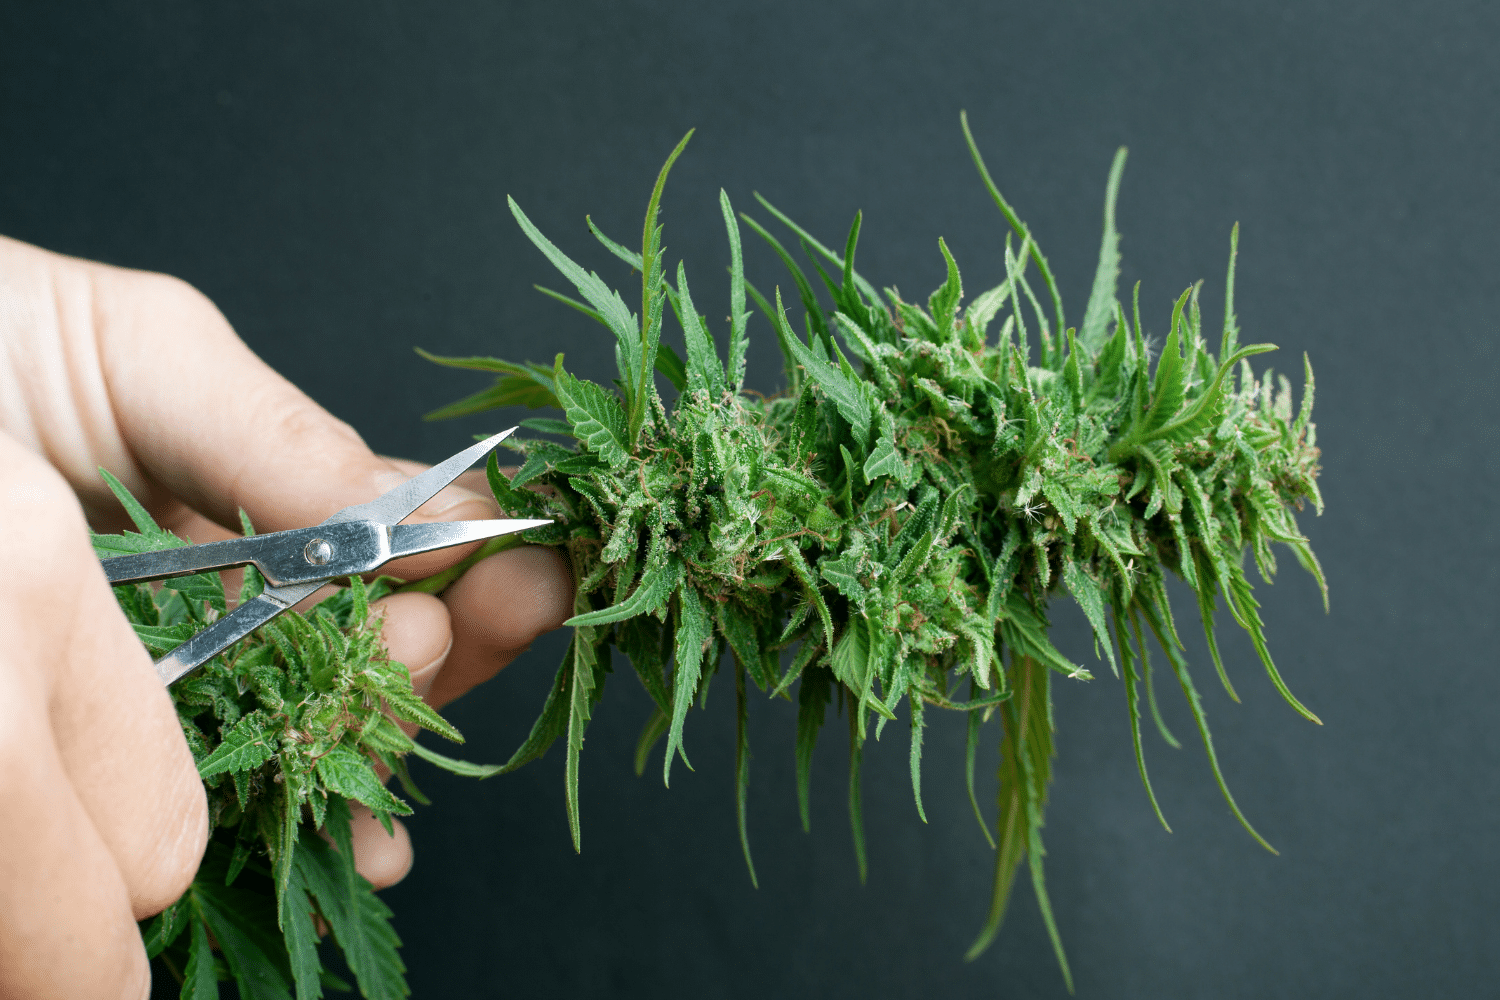
- A sharp, clean pair of of shears or scissors.
- A few large containers to place the separated organic material.
- Some string you can use to attach your branches to hang for drying.
- Something to hang the branches from, such as a clothes line, fence, rafter etc.
The main point to remember when cutting down your plants in preparation for drying is to make sure to avoid being rough with the flowers and potentially damaging them.
When cutting the larger leaves try to get to the base of the petiole (the stem holding the bud), and do so as quickly as possible, as leaving it can lead to mold during the drying stage. Cut the small leaves that grow around the bud so that the final result is as clean as possible.

3) Trimming your buds
Growers are split on which is better – dry trimming or wet. There are advantages and disadvantages to both, but we recommend dry trimming.
Once they have evaporated 75% percent of their water weight, place leaves, stems, sticks and all unwanted organic material in one bin and carefully place your buds in another. Remove everything you don’t want to keep.

4) Drying your buds
If you want premium buds, then you must dry and cure them correctly. This stage significantly impacts the final results.
Drying starts once your plants have been cut and the fan leaves have been removed. In order to dry successfully, the optimal environmental conditions should be adhered to:
- If it is too cool or damp, drying will occur too slowly and mold could form.
- If it is too hot or dry, flowers will dry too quickly, will become brittle and will develop a harsh taste when smoked.
- Flowers may also dry unevenly if it is too hot or dry, which could lead to them being crispy and dry on the outside but still damp inside.
- The ideal setup for drying cannabis is to hang the branches in a room with the temperature range hovering around 18-24°C (65-75°F) and the relative humidity remains at 45-55%. It is also necessary to ensure that your chosen drying spot is dark – light can lead to more rapid degradation of THC.
- Drying time should be 2 weeks minimum but some like to extend that to 3 weeks. Never have air shooting directly at them, only around them. No need to worry about rot or mold if room humidity is controlled and you use netting, baskets or hanging.
Hang the plants upside down and let them dry for a 7-10 days. After 7 days, when you think most of the moisture is gone from the buds, and the leaves around them are dry and brittle, prune very carefully so that the floral material does not fall off.
Check on your your bud daily and expect that they should lose about 3 quarters of their weight once most of the moisture has evaporated.

5) Curing your Cannabis
The curing process is the final step of any cannabis cultivation – and it is important you get this right. Some first-time growers make mistakes during this phase and without curing properly, dried buds would not retain the depth of flavor and aroma. So curing is important to producing the best results.
Curing is the process of achieving the perfect level of moisture in a dried herb. The same is true if it’s too moist. The curing stage is the process by which buds are left at a certain temperature and humidity, allowing them to retain the optimum amount of moisture. Essentially, this is how you preserve cannabis buds.

